Few desserts capture pure indulgence quite like a Chocolate Lava Cake. With its soft outer shell and warm, flowing center, it’s a treat that feels fancy but is surprisingly easy to make. I still remember the first time I baked them in my sunny Santa Cruz kitchen, the smell of melted chocolate filling the air, my friends leaning over the oven door, waiting for that moment when the cakes came out just firm enough to hold their shape. When we finally cut into one and the molten chocolate poured out, everyone went silent for a second before grinning like kids. That’s when I knew this dessert wasn’t just delicious; it was unforgettable.

What Makes a Perfect Chocolate Lava Cake
The Secret of the Molten Center
The beauty of a Chocolate Lava Cake lies in its contrast, firm edges and a molten center that oozes with every spoonful. The trick isn’t leaving it raw; it’s mastering the timing. Bake it just long enough for the outside to set but not so long that the center solidifies. Usually, 6 to 8 minutes at 450°F does the job. When you see the edges puff slightly and the middle still jiggle, it’s time to pull them out. That delicate balance is what gives the dessert its signature “lava” texture.
The choice of chocolate matters, too. Use quality bittersweet chocolate, around 60% cocoa, to get that deep, velvety richness. It melts evenly and creates a glossy, luxurious cake texture. Mix gently once you add the melted chocolate to the eggs; you want everything smooth, not overworked.
If you’re a fan of rich, gooey treats, you might also love my Chocolate Caramel Brownies or Easy Moist Chocolate Cupcakes, which use the same principle, contrast and indulgence in every bite.
Print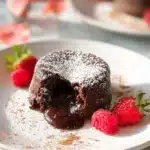
Chocolate Lava Cake: Easy, Gooey, and Delicious Every Time
- Total Time: 22 minutes
- Yield: 6 cakes
- Diet: Vegetarian
Description
- A rich, gooey, and easy Chocolate Lava Cake made with simple ingredients. Perfect for any occasion, soft edges, molten center, and ready in under 25 minutes.
Ingredients
- ½ cup unsalted butter (113g)
- 6 ounces bittersweet chocolate, chopped (168g)
- 2 large eggs
- 2 large egg yolks
- ¼ cup granulated sugar (50g)
- ⅛ teaspoon salt
- 2 tablespoons all-purpose flour
Instructions
- Preheat the oven to 450°F. Butter and lightly flour 6 (4–5-ounce) ramekins and place them on a baking sheet.
- Combine the butter and chocolate in a double boiler and melt over low heat, stirring until smooth. Or, melt them in a microwave-safe bowl, heating in 30-second bursts.
- In a mixing bowl, whisk together the eggs, egg yolks, sugar, and salt until thick and pale. Fold in the melted chocolate mixture and flour until smooth.
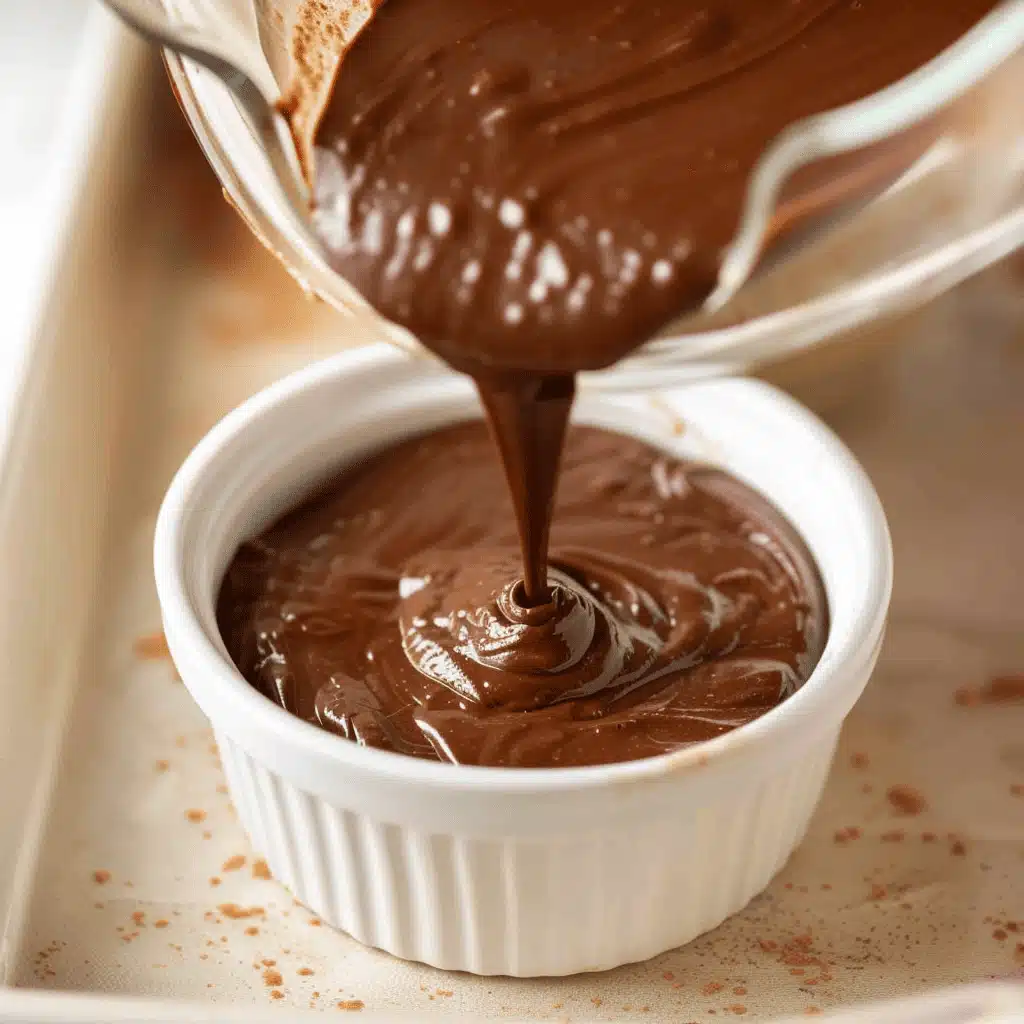
- Divide the batter evenly among the ramekins. Bake for 6 to 8 minutes, until edges are firm but centers are soft.
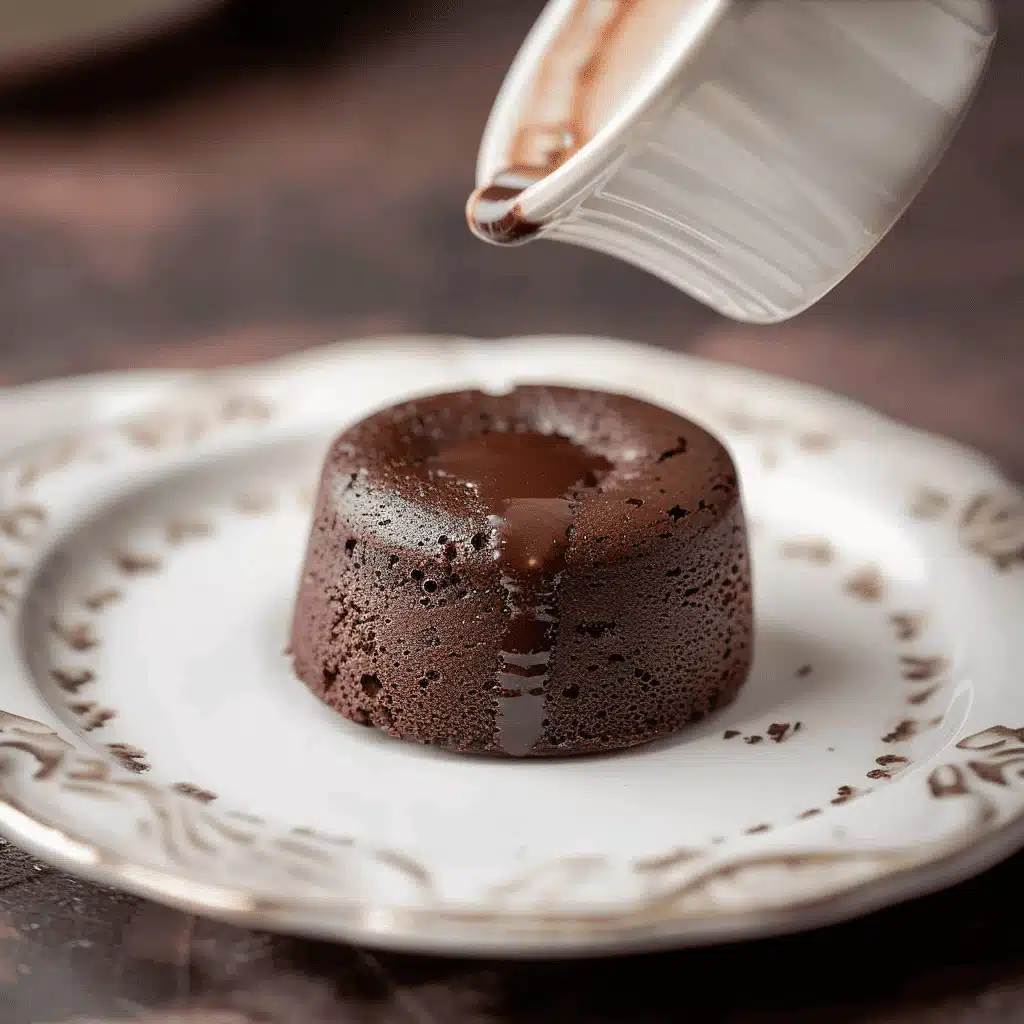
- Let cool 1 minute. Invert each cake onto a plate, remove the ramekin, and serve warm with powdered sugar or ice cream.
Notes
- For best results, use high-quality bittersweet chocolate.
- Serve immediately, the molten center firms up as it cools.
- To make ahead, refrigerate batter up to 12 hours before baking.
- Prep Time: 13 minutes
- Cook Time: 8 minutes
- Category: Dessert
- Method: Baked
- Cuisine: American
Table of Contents
Simple Ingredients, Perfect Results
You don’t need a long list to make an impressive lava cake, just seven basic ingredients:
- Butter for richness and moisture
- Bittersweet chocolate for bold flavor
- Eggs for body and texture
- Sugar for sweetness and color
- Salt to balance the taste
- A little flour to hold it together
It’s the balance that makes this dessert shine. Use unsalted butter so you can control the salt level, and keep the flour light, just 2 tablespoons are enough to give the cake structure without losing its molten middle.
If you’ve baked my White Chocolate Macadamia Nut Cookies, you already understand how precision brings softness and chewiness together. The same rule applies here: every measurement matters, but the payoff is absolute perfection.
Baking Secrets and Serving Tips for the Perfect Chocolate Lava Cake
How to Bake It Just Right
Perfecting a Chocolate Lava Cake comes down to timing and heat. The goal is to bake the outer layer just long enough for it to form a soft shell while keeping the center molten and creamy. Always preheat your oven to 450°F before you start, it ensures even baking. If the oven isn’t hot enough, the cakes won’t rise properly, and the centers may be raw instead of silky.
Prepare your ramekins carefully by coating them with butter and a dusting of flour. This prevents the cakes from sticking when you invert them later. Fill each ramekin about three-quarters full, giving the batter space to rise. Bake for six to eight minutes, keeping a close eye on them. When the edges are firm and slightly puffed, but the center still has a soft jiggle, that’s your sign to pull them out.
If you’re unsure of your oven’s accuracy, do a test run with one cake first. Once you know the exact timing for that perfect molten texture, bake the rest. For another simple but elegant chocolate dessert, try my Chocolate-Covered Strawberries; they’re just as impressive and easy to master.
How to Invert and Serve Like a Pro
When your cakes come out of the oven, let them cool in their ramekins for exactly one minute. This short rest allows them to set enough to hold their shape without losing the soft center. Then, place a dessert plate upside down over the ramekin and flip quickly but carefully. Let it sit for about ten seconds before removing the ramekin, the cake should slide out cleanly, revealing its smooth top.
A light dusting of powdered sugar gives the cake a professional finish, while fresh berries or a scoop of ice cream add balance to the richness. The contrast between the warm, flowing chocolate and the cold cream is pure bliss. For an extra touch, drizzle a little caramel or chocolate sauce on the plate before serving.
If you like pairing textures, you’ll love serving this with a crisp cookie, such as my Double Chocolate Chip Cookies. The crunchy bite against the soft lava center makes every spoonful even better.
Troubleshooting Common Mistakes
Even simple desserts can be fussy, so here are a few quick fixes for common lava cake issues:
- Dry center: The cake was baked too long. Shorten the baking time by about one to two minutes.
- Runny edges: The oven wasn’t fully preheated. Give it extra time to come to the proper temperature.
- Cake sticks to the ramekin: Use more butter and flour when preparing them.
- Flat top or dense texture: The batter was overmixed. Gently fold the ingredients together instead.
When done right, a Chocolate Lava Cake should have crisp edges that give way to a silky, molten core, rich, smooth, and deeply satisfying.
Creative Variations and Flavors for Chocolate Lava Cake
Adding a Flavor Twist to the Classic
Once you’ve mastered the classic Chocolate Lava Cake, it’s easy to make it your own. The base recipe is simple enough to handle subtle additions, a shot of espresso, a spoonful of caramel, or even a sprinkle of sea salt can completely change the flavor profile without losing the dessert’s soul.
For coffee lovers, stir in a teaspoon of espresso powder with the melted chocolate. The coffee deepens the cocoa flavor, creating a mocha-style richness that pairs beautifully with vanilla ice cream. If you’re after something indulgent, spoon a bit of caramel sauce into the center of each ramekin before baking. When you cut into the cake, you’ll get two molten layers, dark chocolate and golden caramel. It’s elegant and effortless.
Another great variation is to add orange zest or raspberry purée for a fruit-forward balance to the chocolate’s richness. Both cut through the sweetness and make the dessert feel lighter. If you’re inspired by European classics, you might enjoy experimenting with a hint of liqueur, such as Grand Marnier or Baileys, in the chocolate mixture, just a tablespoon can add warmth and complexity.
For a fruity touch, check out my German Chocolate Cake Recipe, which uses coconut and pecans to add texture and flavor layers similar to what you can achieve in a lava cake.
Creative Presentation and Pairings
Presentation matters as much as flavor when it comes to Chocolate Lava Cake. A warm, molten center already makes an impression, but how you serve it can turn it into a true showstopper. For a romantic dinner or special occasion, dust the top with powdered sugar, then add a few fresh raspberries or strawberries on the side. The color contrast is striking and complements the richness of the chocolate.
You can also experiment with serving vessels. While ramekins are the classic choice, try baking the batter in muffin tins for mini lava cakes. They’re perfect for parties, just reduce the baking time by a minute or two since smaller portions cook faster.
If you want to balance out the richness, serve your lava cakes with something cool and creamy. A scoop of vanilla ice cream is classic, but whipped cream flavored with a bit of espresso powder or hazelnut extract makes for an impressive twist. Pair it with a drizzle of berry coulis for color and brightness.
For inspiration, my Chocolate Cake Recipe uses simple garnishes to elevate presentation without complicating the process, a reminder that the best desserts don’t need fancy extras, just thoughtful touches.
How to Store and Reheat Chocolate Lava Cakes
If you somehow have leftovers (which rarely happens), you can store them in an airtight container in the fridge for up to two days. To reheat, microwave each cake for about 15 seconds or bake in a 350°F oven for 5 minutes. The center won’t be as molten as when fresh, but it’ll stay soft and fudgy.
For a more make-ahead option, try my Zucchini Oatmeal Chocolate Chip Cookies. They’re perfect when you want something chocolatey that keeps well for several days.
Conclusion:
A perfect Chocolate Lava Cake doesn’t require fancy skills, just attention to detail. With a handful of ingredients and less than 25 minutes, you can create a dessert that looks and tastes like it came from a high-end restaurant. Each spoonful delivers the best of both worlds: a tender cake exterior and a smooth, molten center.
Whether you’re baking for a date night, a dinner party, or a quiet evening at home, this cake never fails to impress. It’s proof that the most memorable desserts come from simple ingredients, a hot oven, and a little patience.
Fore more recipes follow me on Facebook, Pinterest and Instagram
Frequently Asked Questions About Chocolate Lava Cake
What’s the secret to a good chocolate lava cake?
A great Chocolate Lava Cake comes down to temperature and timing. Bake it hot (450°F) and fast (6–8 minutes) so the edges set while the center stays molten. Always use quality bittersweet chocolate, 60–70% cocoa, for a deep, balanced flavor. And don’t overmix the batter; gently fold to keep it airy and light.
What’s the difference between molten chocolate cake and chocolate lava cake?
Molten cake is a general term for desserts with a liquid center, like caramel or fruit. A Chocolate Lava Cake is specifically a molten chocolate center surrounded by a soft, baked exterior, think brownie meets soufflé.
What is chocolate lava cake made from?
It only takes a few simple ingredients: butter, bittersweet chocolate, eggs, sugar, salt, and flour. The key is melting the chocolate and butter together, then folding in the whipped eggs and sugar to create a silky, airy batter.